Deutsch
  English
  Dansk
Dansk  Español
  Italiano
  Français
  русский
  Polski


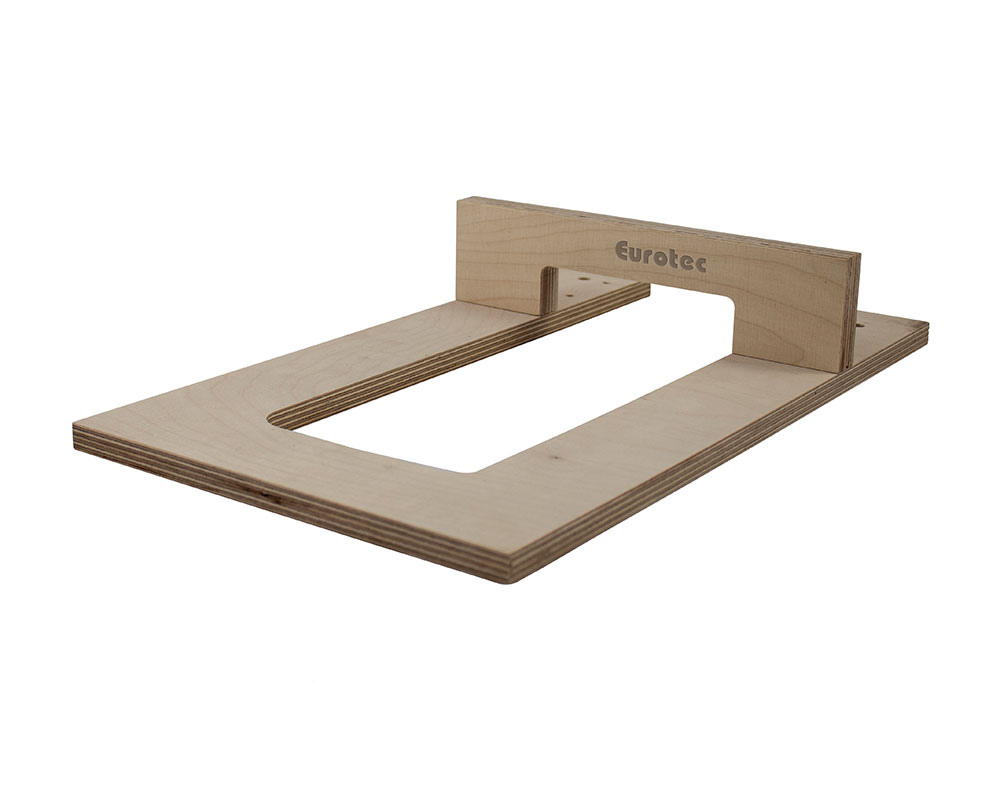
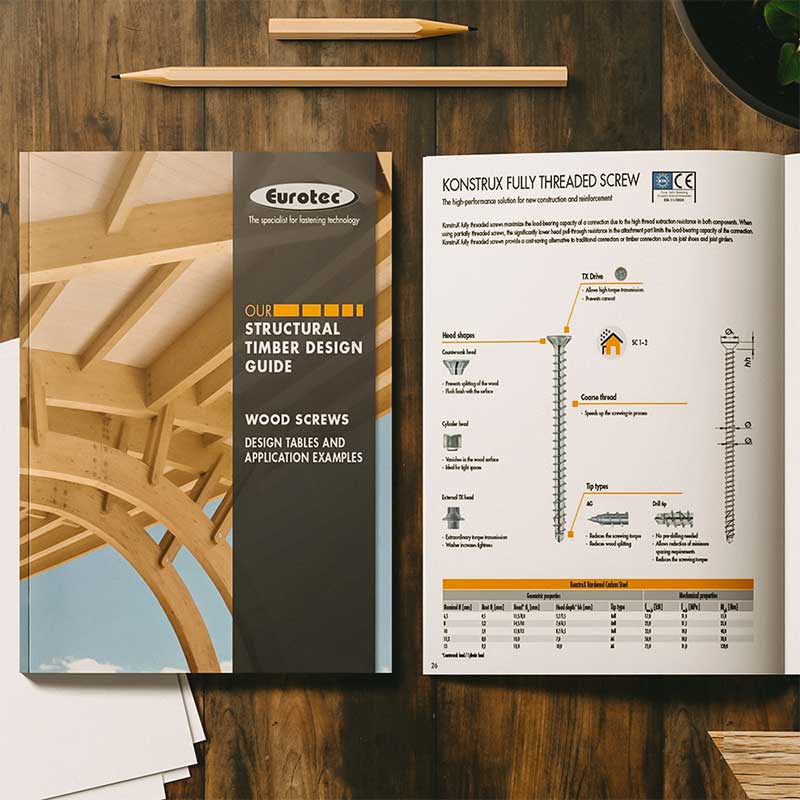
Template for Atlas Wood connector
For Atlas wood connector
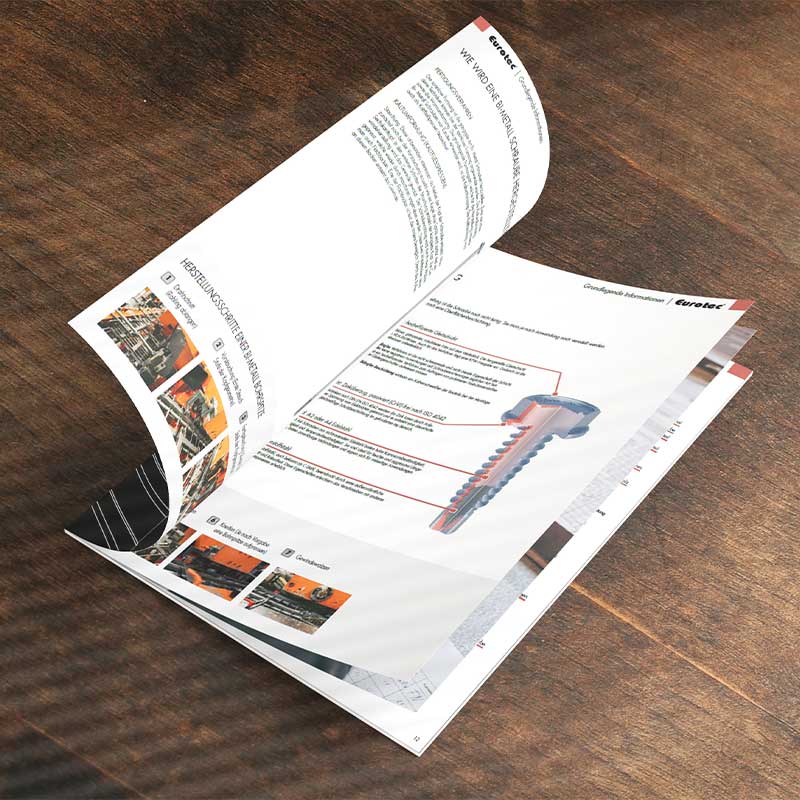
Assembly
- Simply set the stopper for the template to the required size of the Atlas wood connector, put the template in place, fix it and cut out the pocket with the corresponding groove miller.
- The Atlas is then set into the milled recess and fastened with the supplied system screws. The template is then placed in the same setting on the component that is to be connected and the identical second part of the Atlas wood connector is screwed in place. Pre-assembly is now complete and the component to be connected is suspended in place.
- In conclusion, the fixing screw is inserted into the Atlas. In this way the Atlas wood connector is pulled together, if necessary, and the position security of the hook connector is guaranteed. THAT‘S IT!
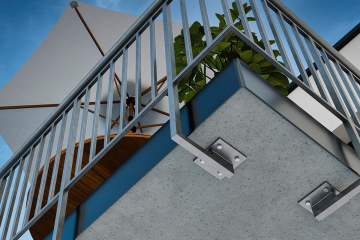
The installation can therefore be both visible (for broad root with chamfer connections) and invisible (milled recess). The above assembly example shows the invisible installation. With visible installation, there is no need for milling and the template is only used as an assembling jig.
| Art. no. | Designation | Compatible with | Material | PU | EAN |
|---|---|---|---|---|---|
| 29658 | ATLAS Template HFS 70 wood | Atlas HF 70 | Wood | 1 Pieces | 4251314701909 |
| 29657 | ATLAS Template HFS 100 wood | Atlas HF 100 | Wood | 1 Pieces | 4250207475248 |
| 29660 | ATLAS Template HFS 135 wood | Atlas HF 135 | Wood | 1 Pieces | 4251314715449 |
| 29661 | ATLAS Template HFS 170 wood | Atlas HF 170 | Wood | 1 Pieces | 4251314715456 |
| 29659 | ATLAS Template HFS 200 wood | Atlas HF 200 | Wood | 1 Pieces | 4251314701916 |